vue+koa2搭建mock数据环境

前段时间写了一篇前端vue项目实现mock数据方式的文章,主要是在vue项目里使用mock数据,数据和项目耦合在一起,不太优雅,作为一个有追求的前端,怎么能容忍这种方法呢?特以此篇,记录利用koa2搭建服务端,提供mock数据的方法。

初始化vue项目

这里以vue项目为主,当然别的类型项目依然可以使用这种mock数据的方式。

1
vue create vue-koa2-demo

前提是安装了vue-cli的脚手架,我电脑安装的是vue-cli3的版本。按照要求一步一步选择后,记得选择安装vuex,后续要使用,启动项目。

koa2项目初始化

前端项目弄好之后,开始安装koa

1
2
3
mkdir koa-demo
cd koa-demo
npm koa koa-router koa-cors

安装工作完成后,在项目根目录下新建一个server.js.

1
2
3
4
5
6
7
8
9
10
11
12
13
14
15
16
17
18
19
20
21
22
let Koa=require('koa')
let Router=require('koa-router')
let cors=require('koa-cors')
let fs=require('fs')

const app=new Koa()
const router=new Router()

router.get('/getData',async ctx=>{
// 允许cors跨域请求
await cors();
// 返回数据
ctx.body=JSON.parse(fs.readFileSync('./static/data.json'));
})

// 将koa和中间件连起来
app.use(router.routes()).use(router.allowedMethods());

let port=3000;
app.listen(port,()=>{
console.log('server is running on'+port)
})

上面请求了一个data.json。需要在项目根目录下新建文件夹static,新建data.json

1
2
3
4
5
6
7
8
9
10
11
12
13
14
15
16
17
[{
"id": 1,
"name": "曹操",
"age": "18"
}, {
"id": 2,
"name": "孙权",
"age": "20"
}, {
"id": 3,
"name": "刘备",
"age": "24"
}, {
"id": 4,
"name": "魏延",
"age": "28"
}]

在终端中执行命令启动koa项目

1
node server.js

当看到下图时,表示启动项目成功

image2

改造前端项目

  • 修改Home.vue文件
1
2
3
4
5
6
7
8
9
10
11
12
13
14
15
16
17
18
19
20
21
22
23
24
25
26
27
28
29
<template>
<div class="home">
<ul>
<li v-for="item in list" :key="item.id">
<p>姓名:{{ item.name }}</p>
<p>年龄:{{ item.age }}</p>
</li>
</ul>
</div>
</template>

<script>
export default {
name: "Home",
computed: {
list() {
return this.$store.state.list;
}
},
mounted() {
this.getlist();
},
methods: {
getlist() {
this.$store.dispatch('getData')
}
}
};
</script>
  • 修改App.vue文件
1
2
3
4
5
<template>
<div id="app">
<router-view />
</div>
</template>
  • 修改store/index.js
    1
    2
    3
    4
    5
    6
    7
    8
    9
    10
    11
    12
    13
    14
    15
    16
    17
    18
    19
    20
    21
    22
    23
    24
    25
    26
    27
    28
    29
    30
    31
    32
    33
    34
    35
    36
    import Vue from "vue";
    import Vuex from "vuex";
    import axios from "axios";

    Vue.use(Vuex);

    export default new Vuex.Store({
    state: {
    list: []
    },
    mutations: {
    setlist(state, data) {
    state.list = data;
    }
    },
    actions: {
    getData({ commit }) {
    axios
    .get("/api/getData", {
    headers: {
    Accept: "application/json",
    "Content-Type": "application/json"
    }
    })
    .then(res => {
    if (res.status === 200) {
    return res.data;
    }
    })
    .then(res => {
    commit("setlist", Array.from(res));
    });
    }
    },
    modules: {}
    });

记得提前安装axios,这里需要使用axios请求后端接口。

  • 新建配置文件
    在根目录下新建一个vue.config.js,由于前后端项目存在跨域,需要使用代理实现。
1
2
3
4
5
6
7
8
9
10
11
12
13
14
15
16
module.exports = {
devServer: {
port: 8085, // 端口号
https: false, // https:{type:Boolean}
open: true, //配置自动启动浏览器
proxy: {
"/api": {
target: "http://127.0.0.1:3000",
changeOrigin: true,
pathRewrite: {
"^/api": "/"
}
}
}
}
};

重新启动项目

1
npm run serve

就会看到页面上显示出了koa-demo项目里定义的json数据了,大功告成。

image2

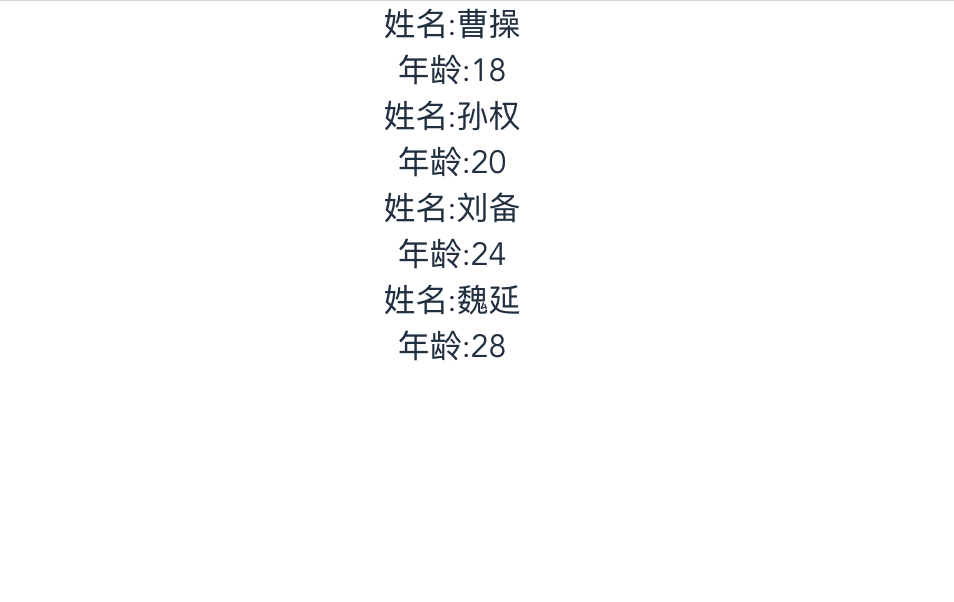
这样以后就可以将mock数据的项目和具体前端项目分离开,更方便的使用。再也不用求着后端给mock数据了,自己搞!

参考资料

坚持原创技术分享,您的支持将鼓励我继续创作!